A few years ago I discovered this buffet and china cabinet in one of my favorite thrift stores.

I bought it to repurpose the china section only. I sold the bottom portion at a consignment store.
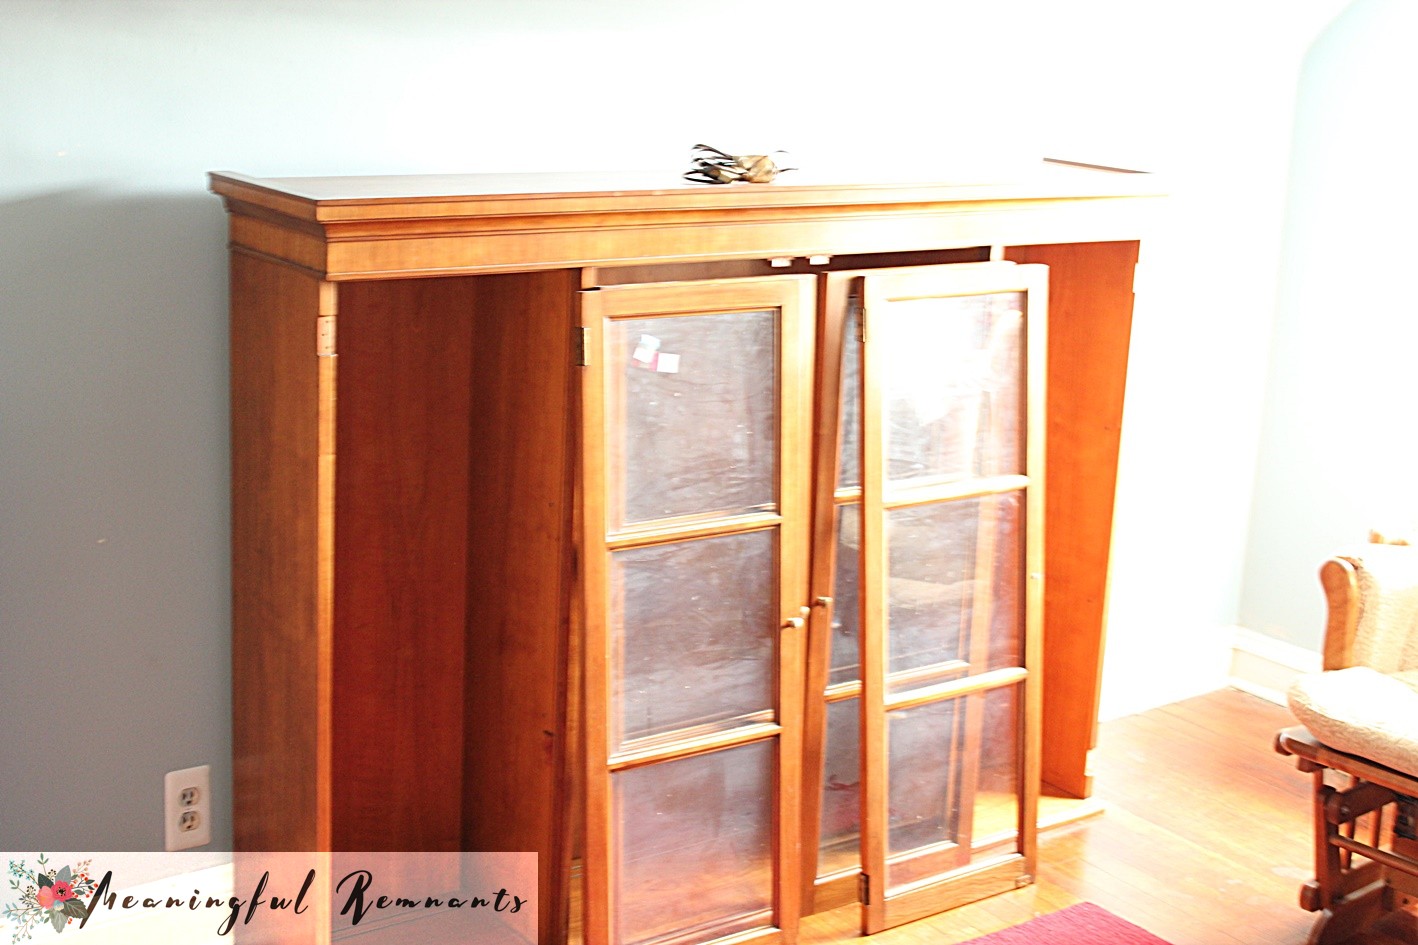
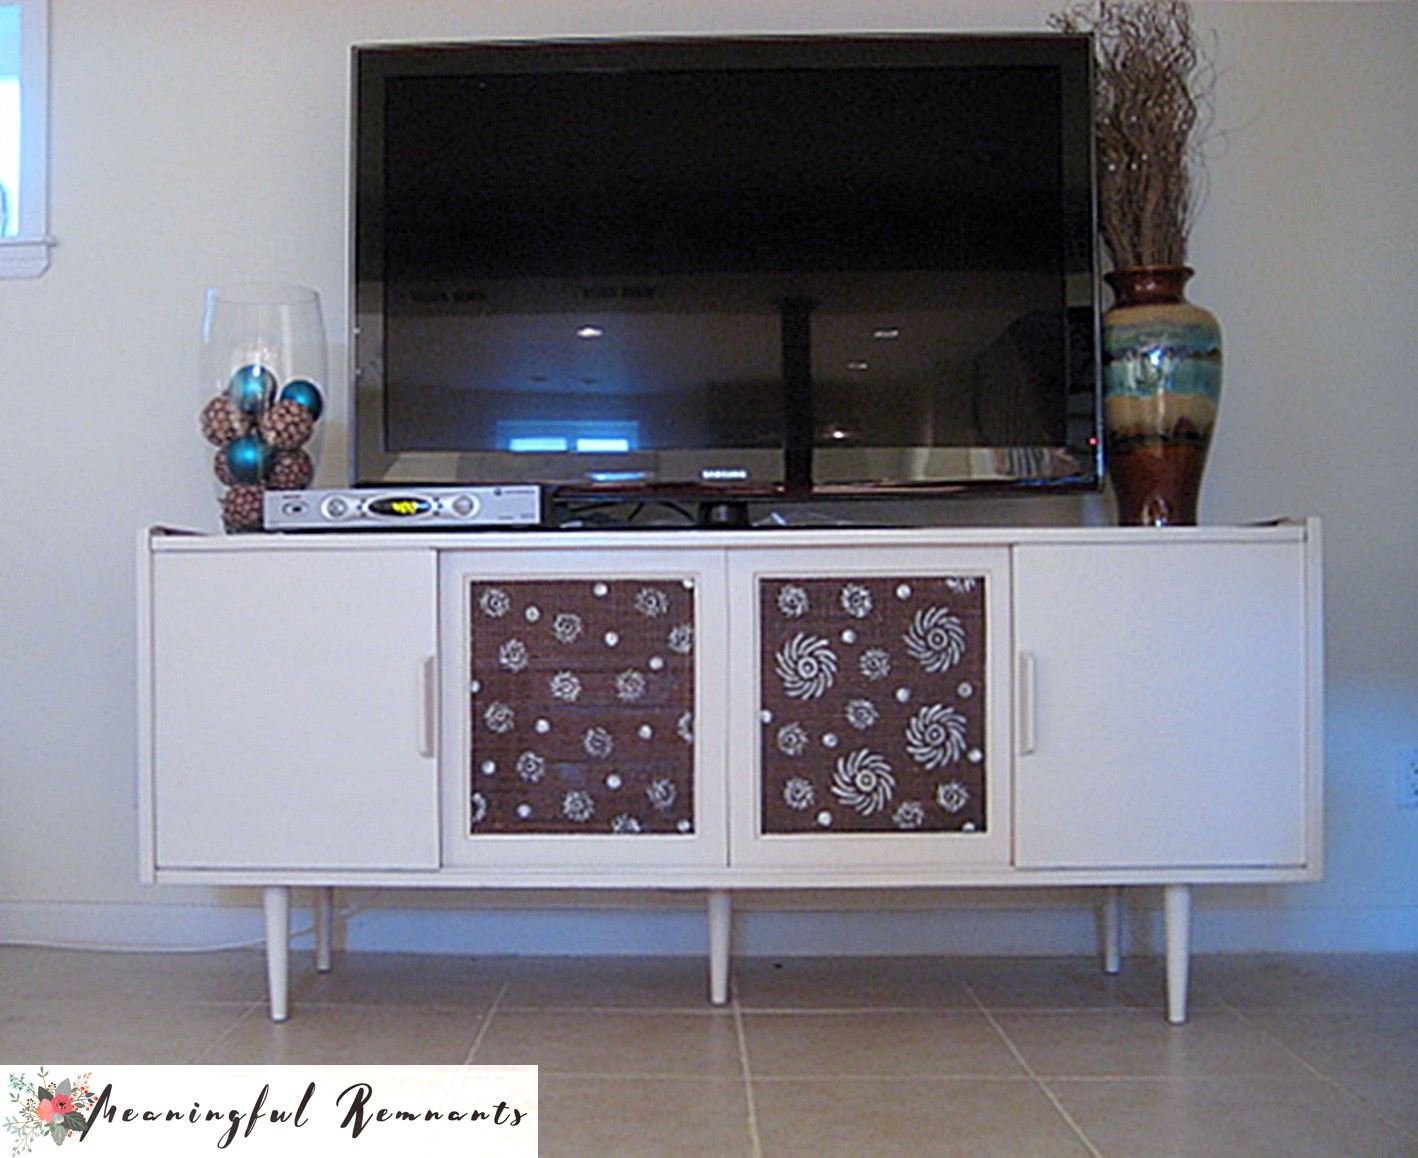
I’ve been using it for our family library. We have lots of books and the glass doors are great for keeping them dust free. It was on my “to do” painting list but that never happened. Although it was displaced to No. 2 Son’s room during a renovation that has yet to be completed, it’s original home was on the second floor hallway landing. Now that I incorporated our books into the main family areas, the size of this piece didn’t leave me too many other placement options. I thought. why not cut it into two sections and place it on either side of the media console in our basement family room.
Here’s what I did:
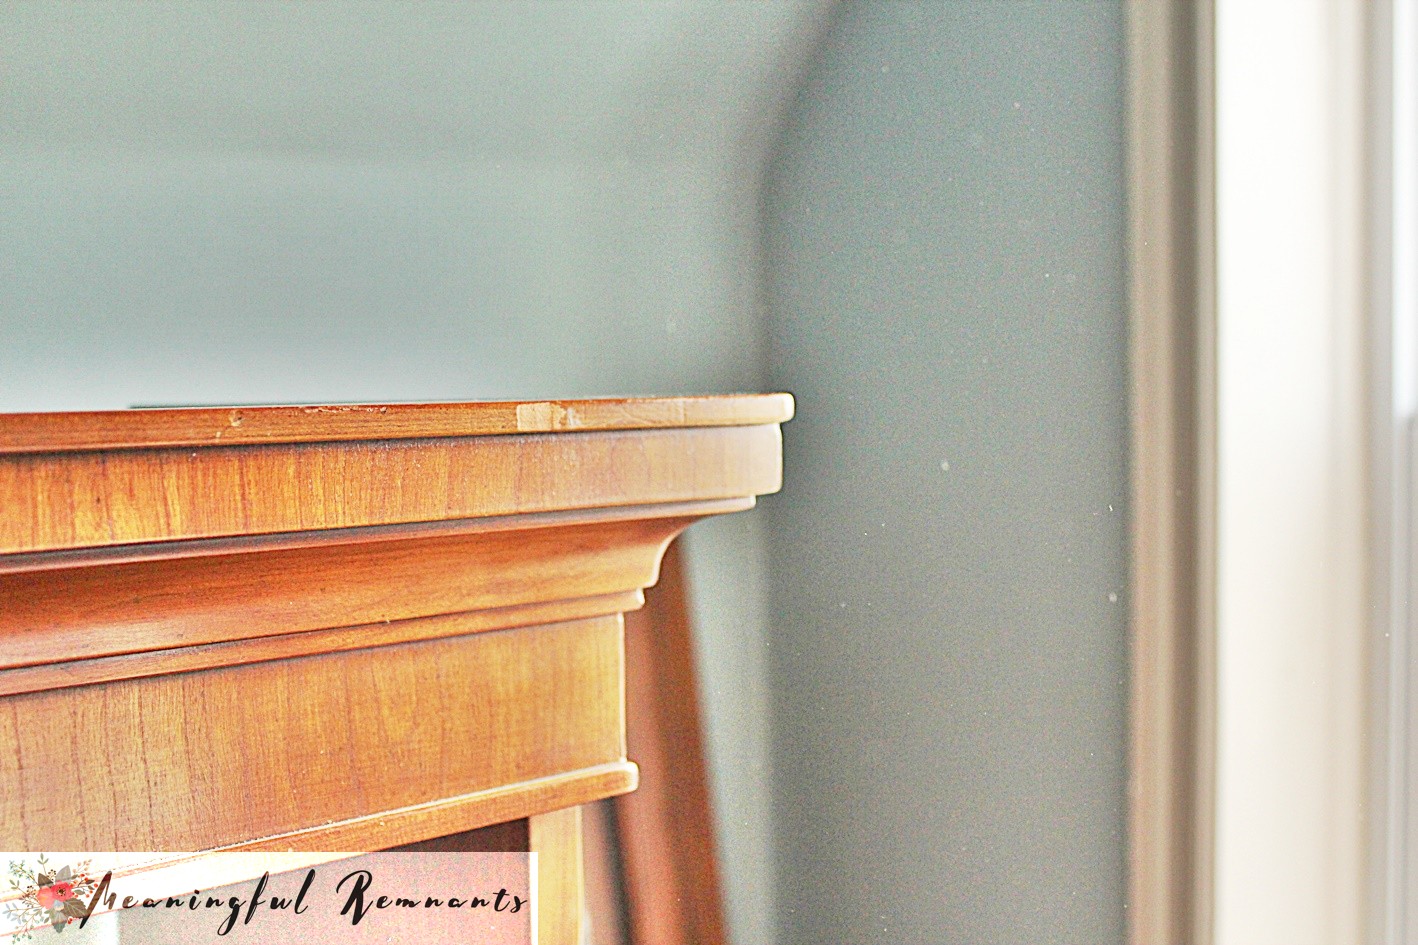
Step 1- Remove molding.
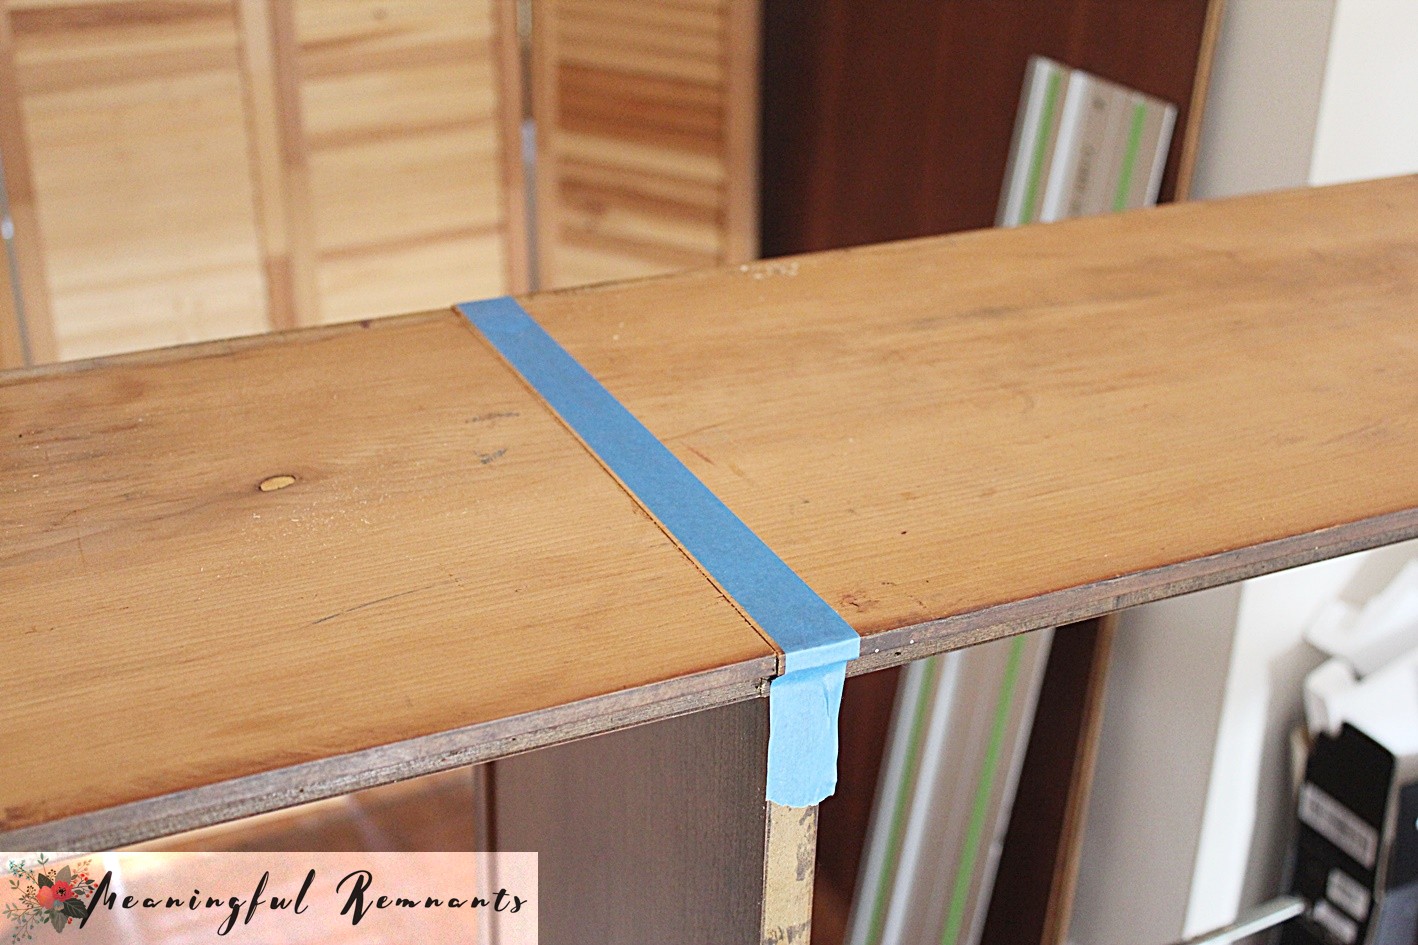
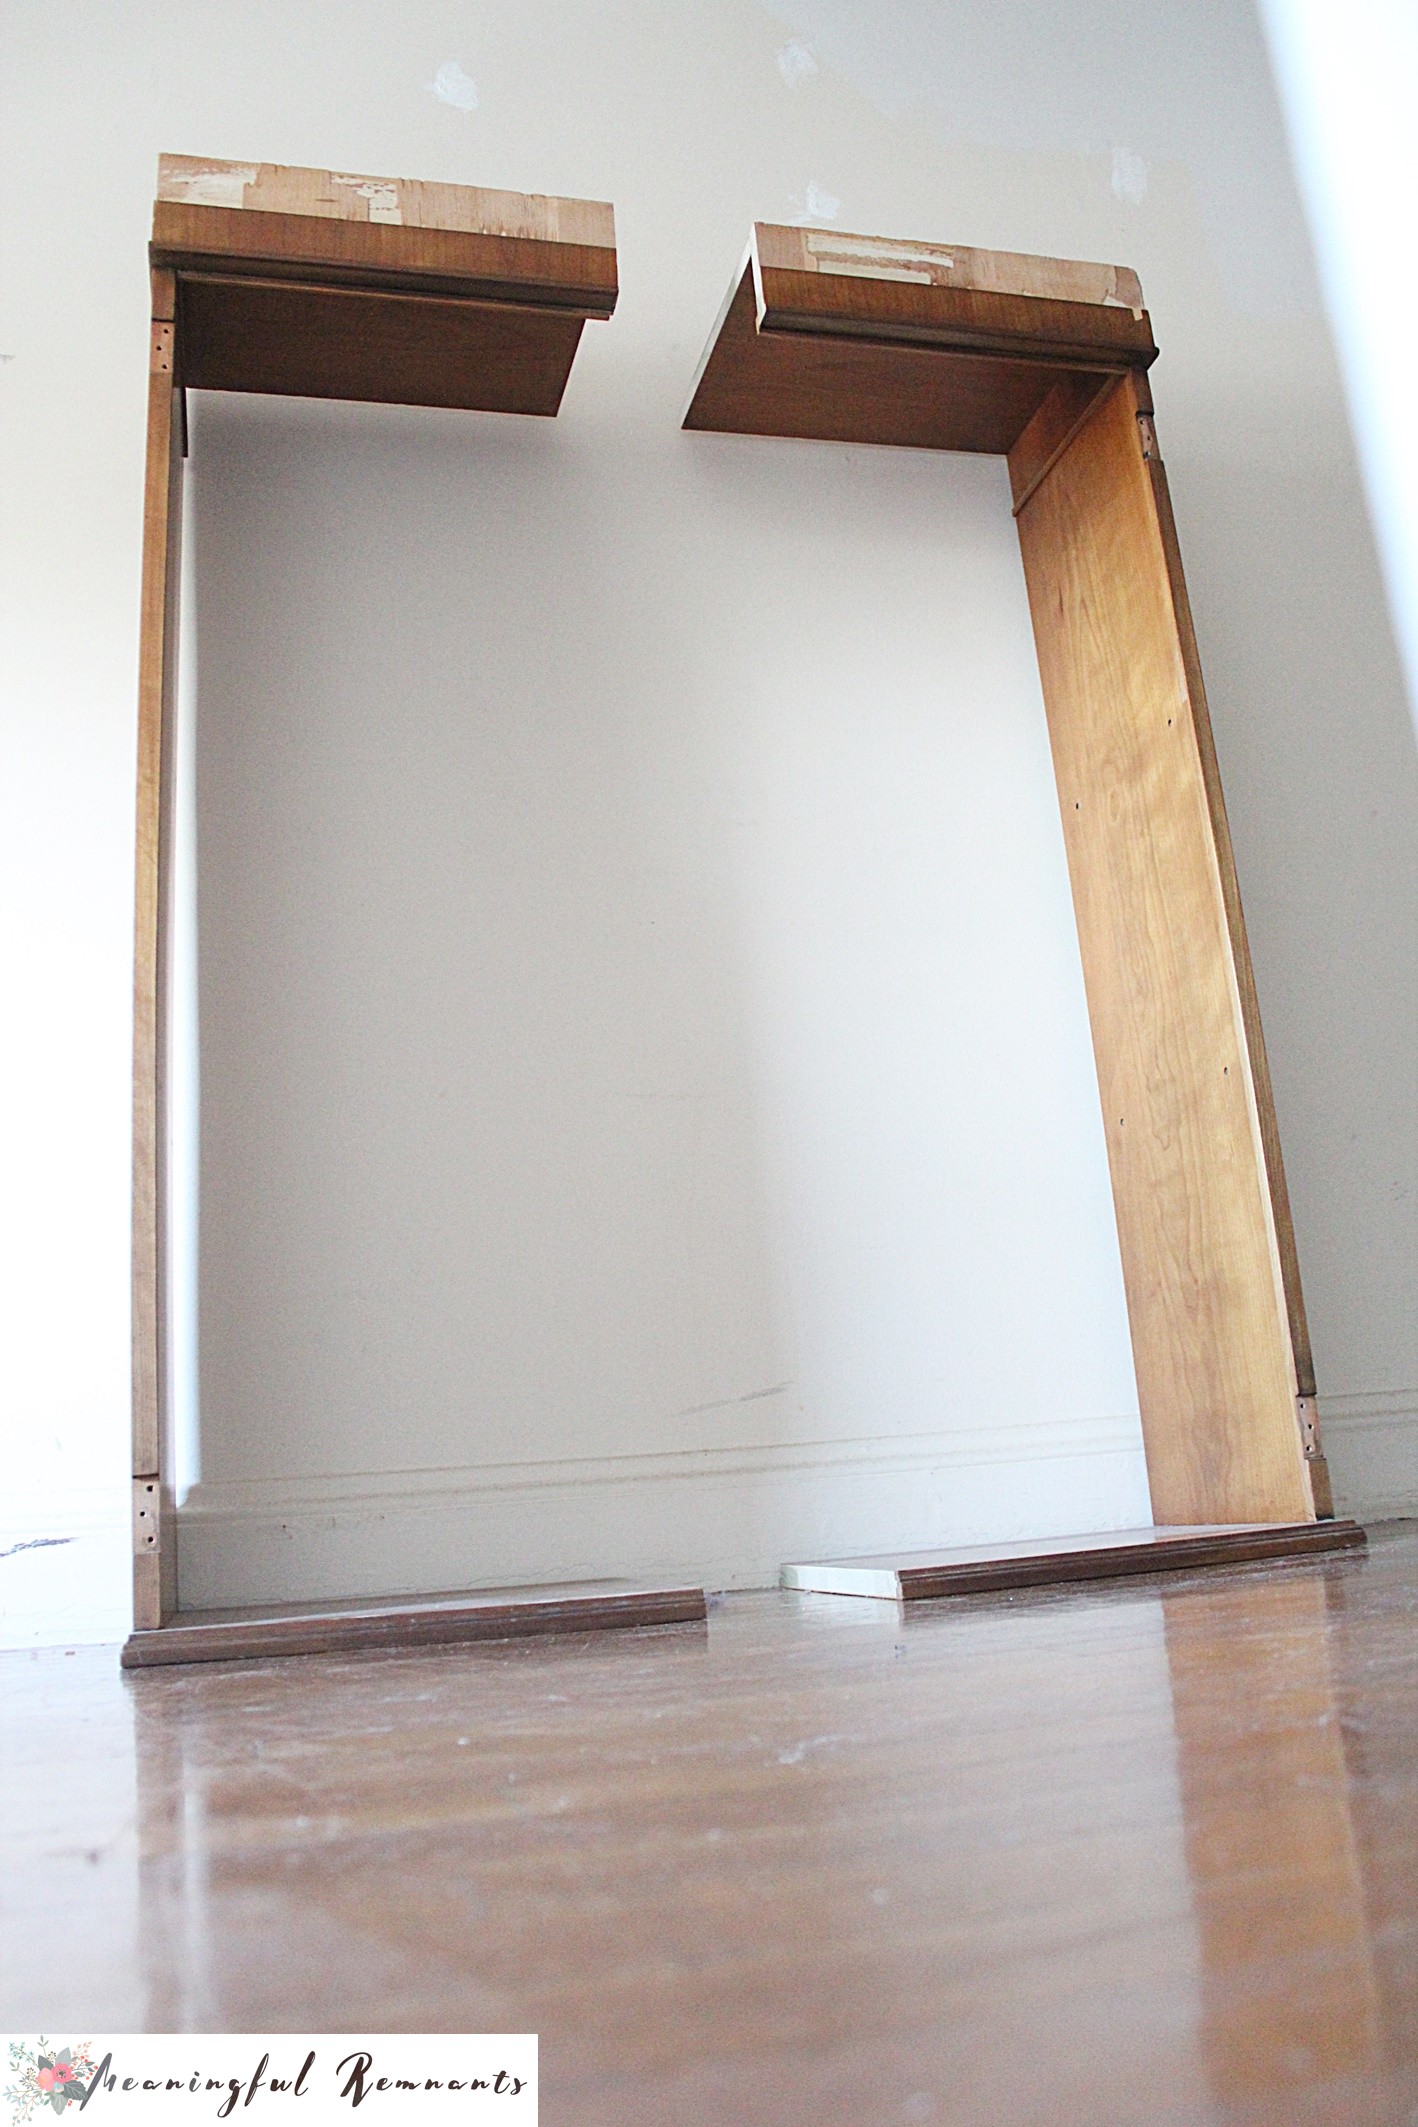
Step 2 – Make the cuts. Mr. DIY taped and cut off the side edges from the center section.
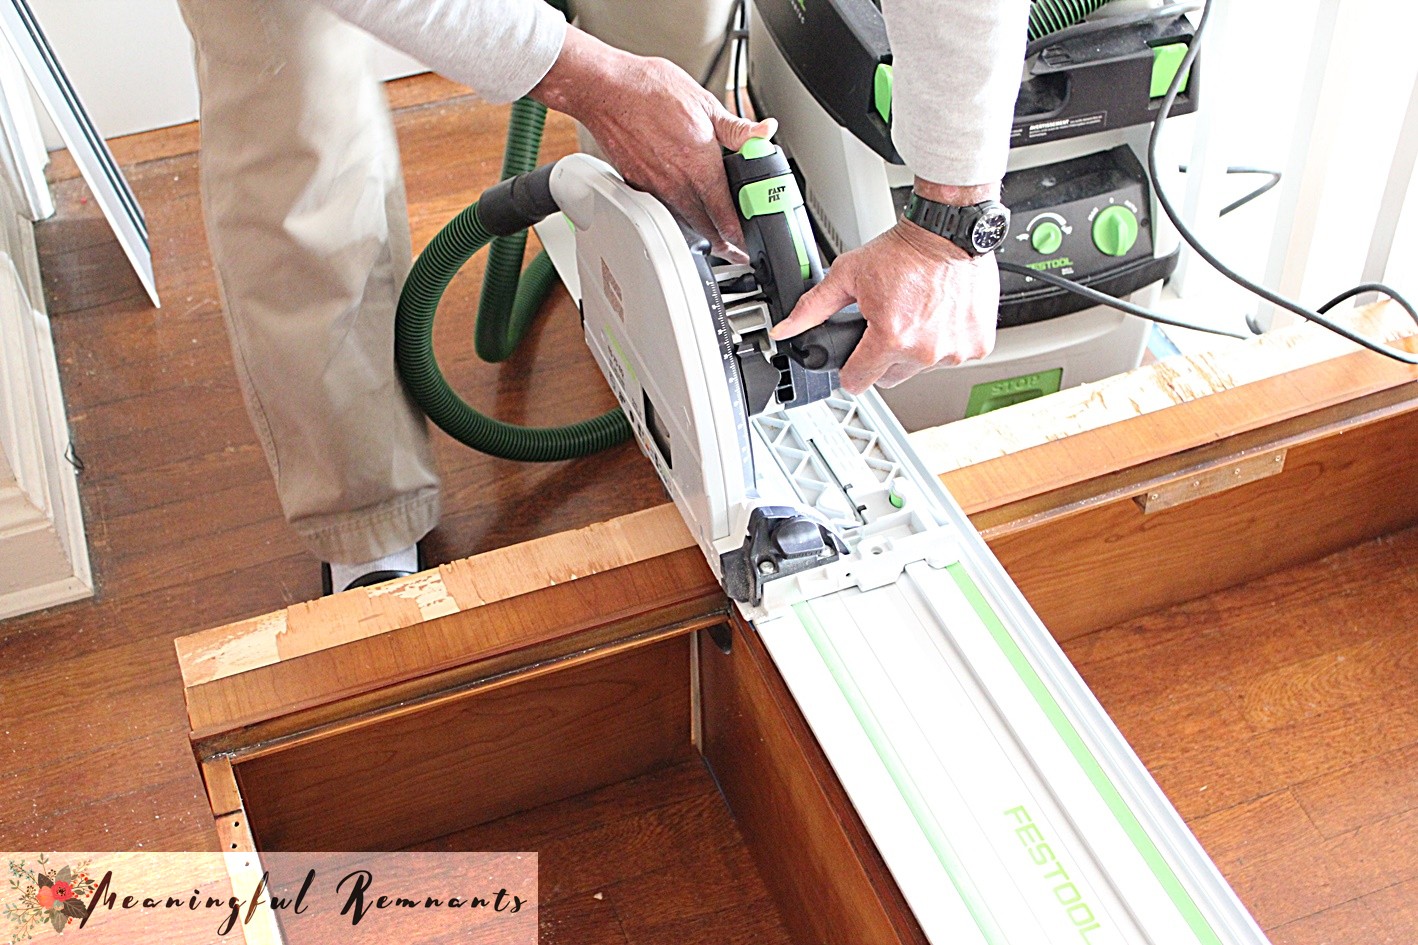
First the top,
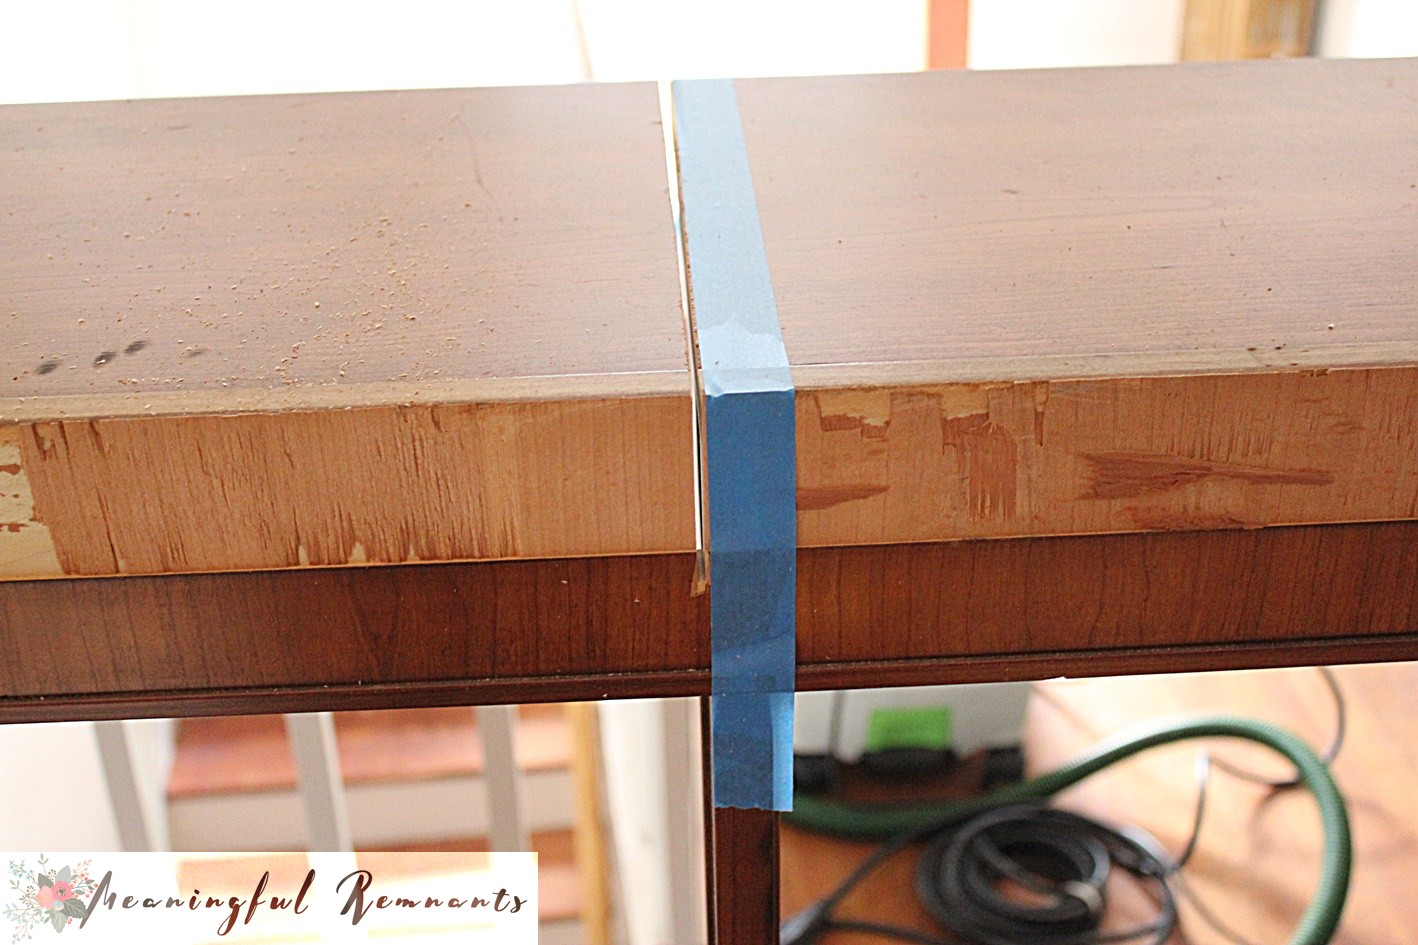
and then the bottom
giving us three sections, but not for long.
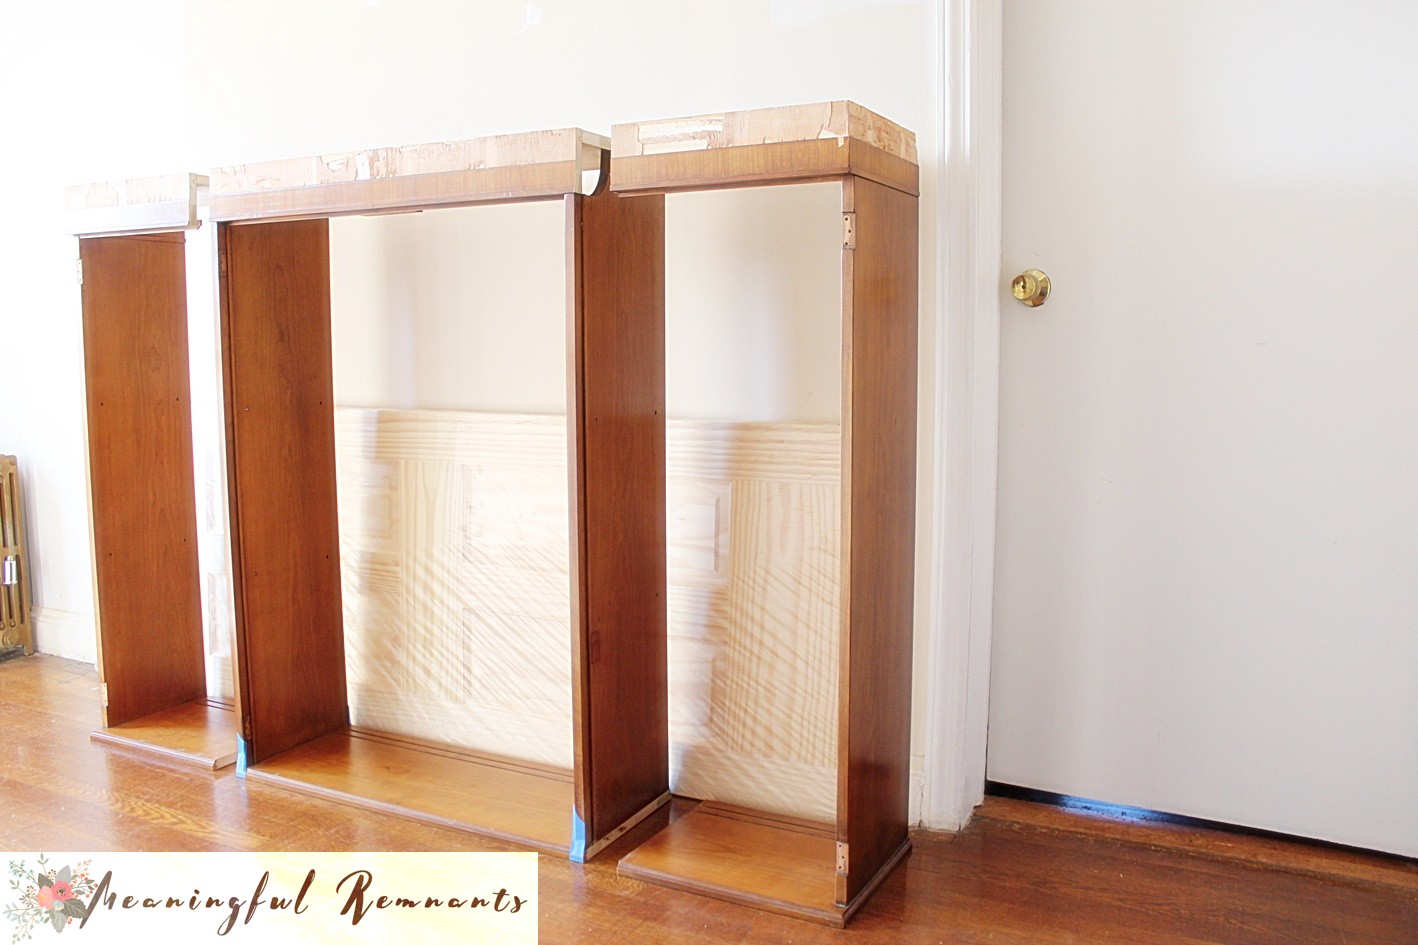
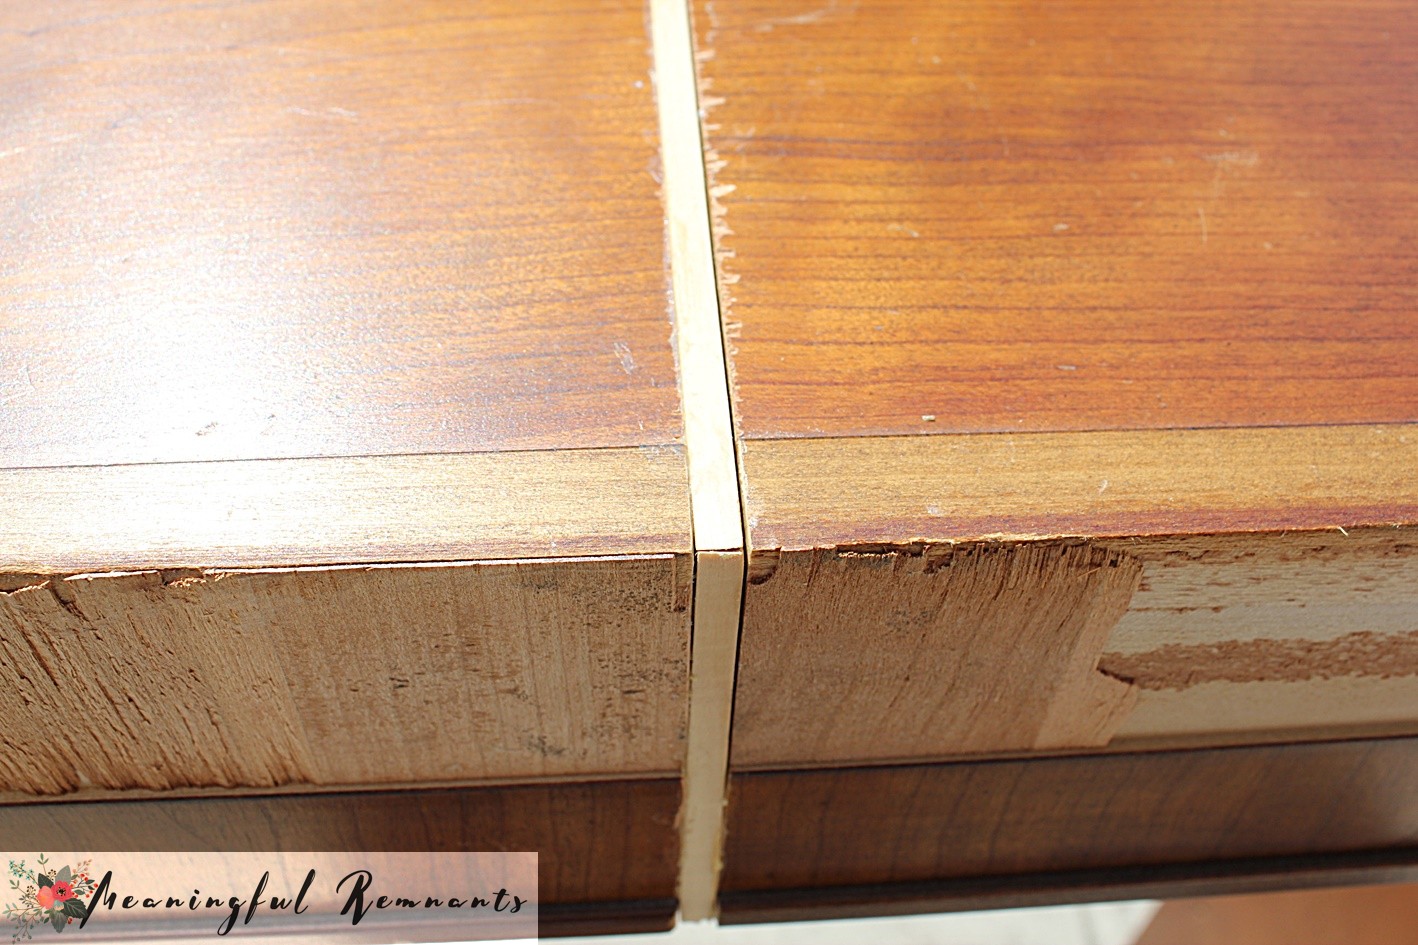
I decided to cut off the side sections rather than splitting it down the middle because I wanted the doors of each cabinet to open from the center. If I had cut it down the center, both doors of each finished cabinet would open from to the left or right and it would have required the addition of side panels as well.
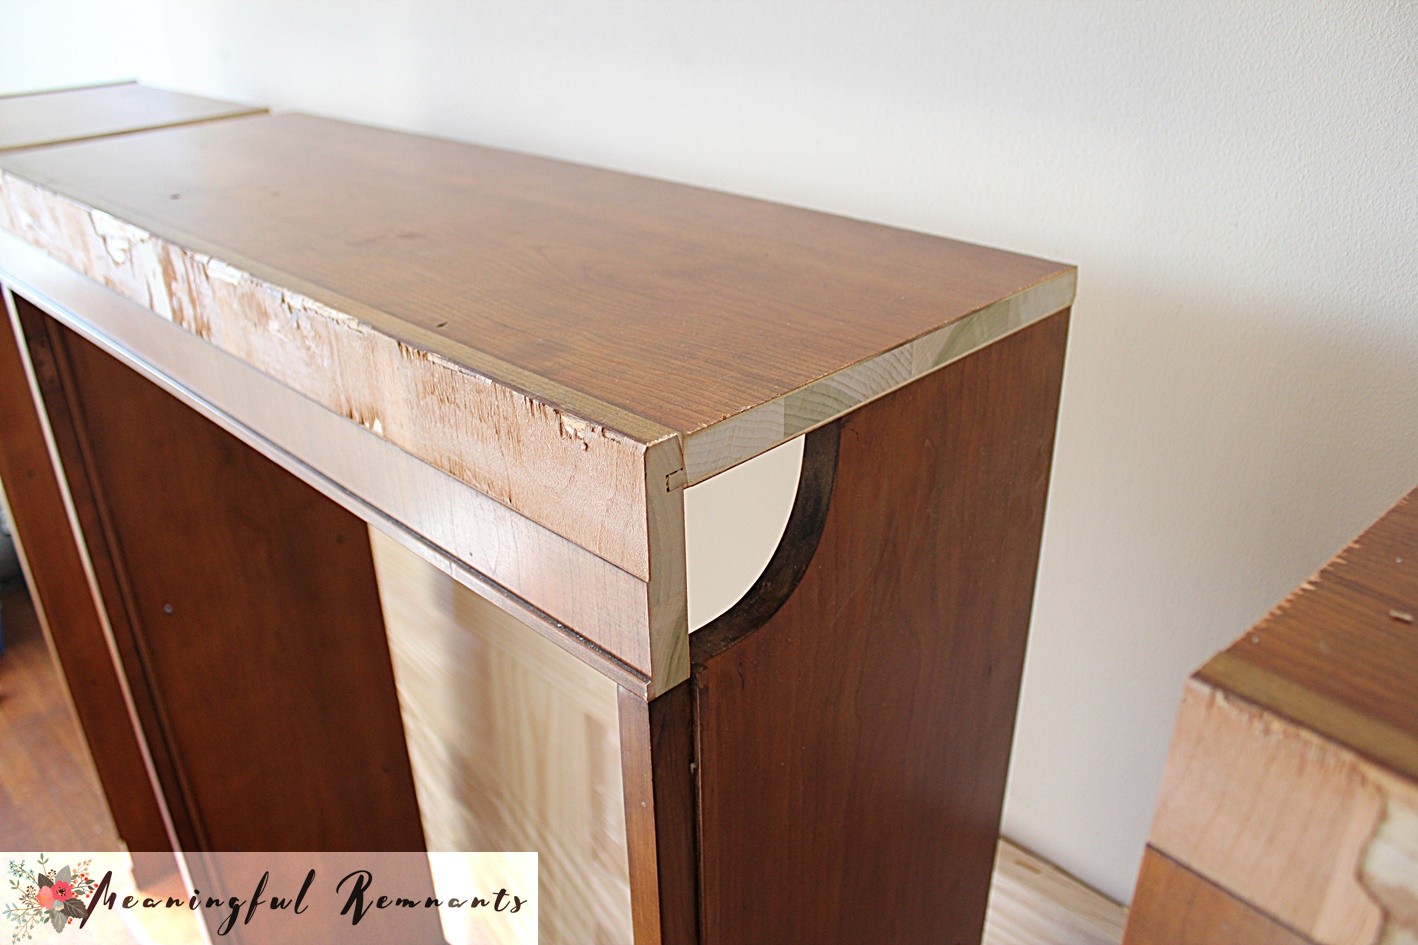
As for that curved cut out, originally to make room for the flourescent light fixture, I am not sure if I will fill it in or leave it as is. Sometimes I like the quirkiness of things like that. You know, a conversation starter so to speak. Maybe, maybe not. I will decide that later.
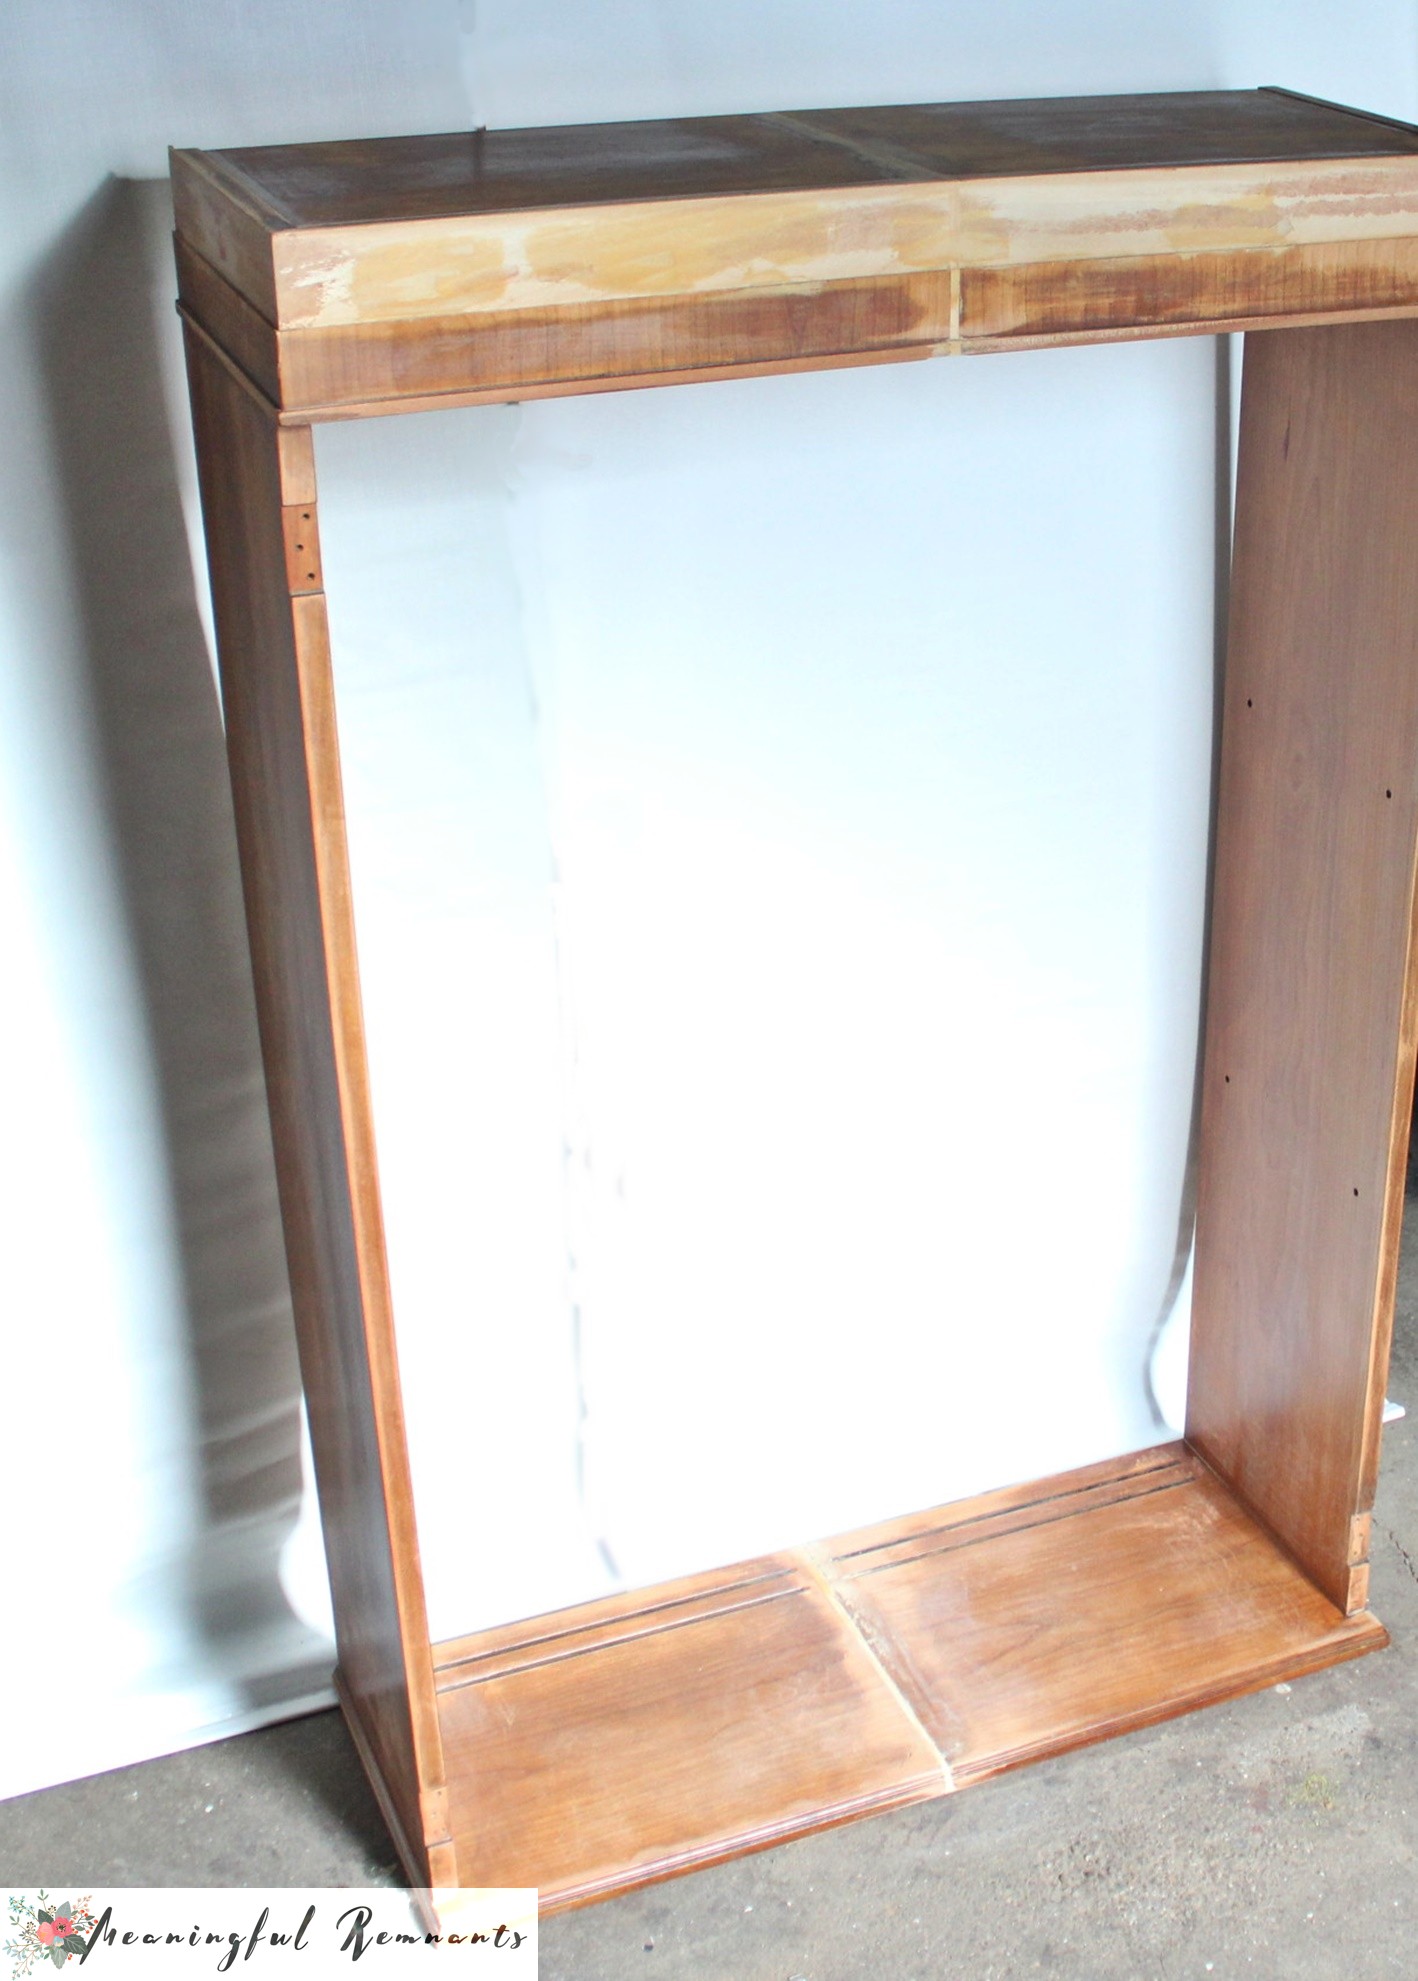
Step 3 – Adhere the two side sections together to match it’s twin, the original center section.
To do that, I had Mr. DIY add a thin piece of wood between the two sections to compensate for the wood loss during the cutting process.
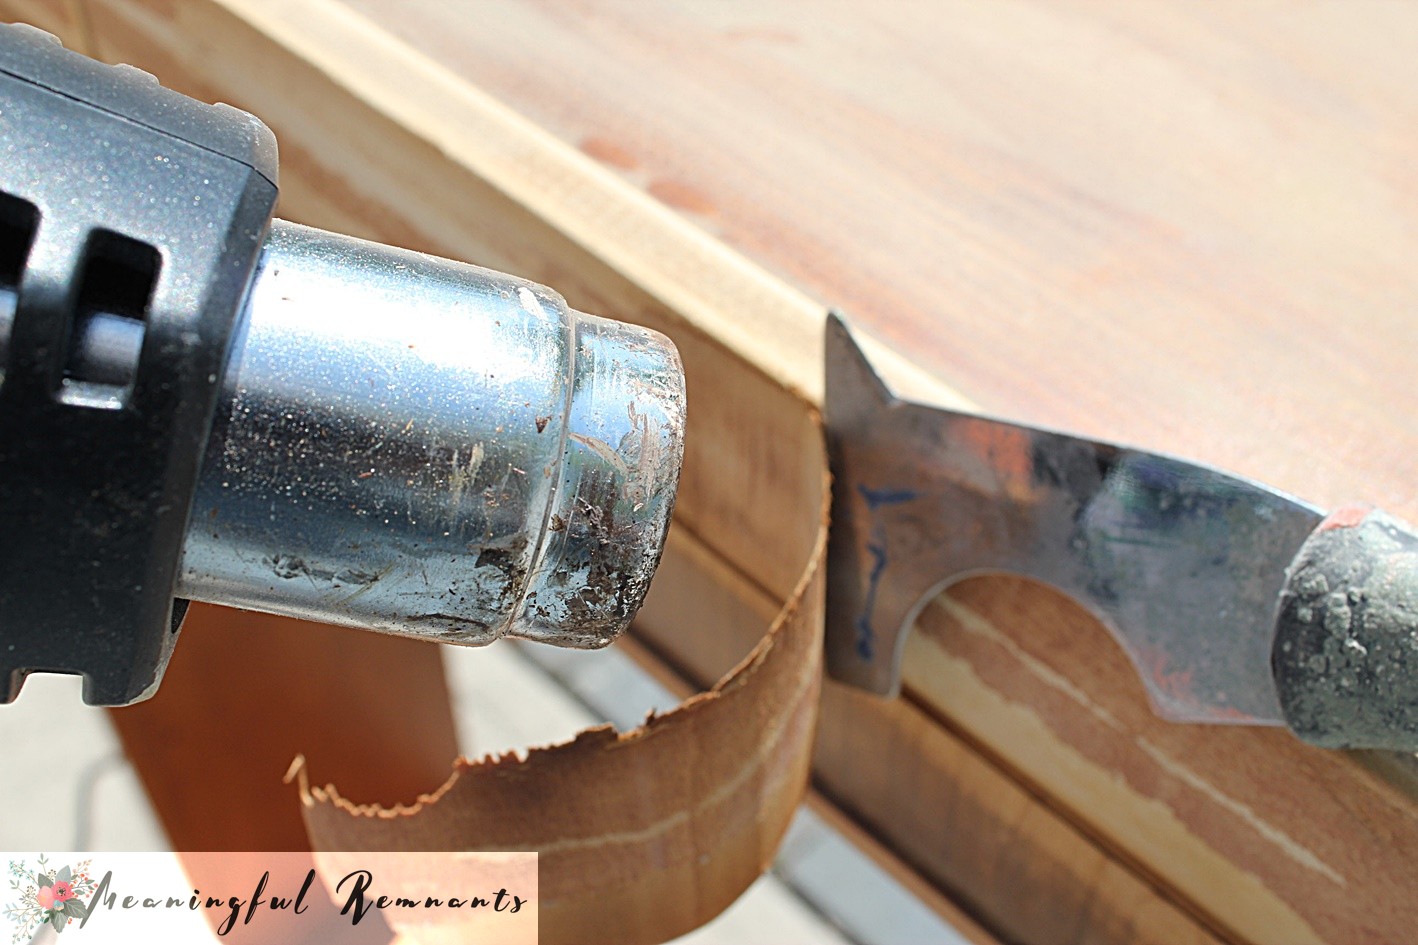
Step 4 – Use a heat gun to remove the trim residuals left behind.
And there you have it, all glued up, sanded and waiting to be primed. It’s twin is ready as well.
Wow! that was a lot of work but there is so much more to go. Not entirely sure what color to paint them. Same color as the media console or another color? Not a fan of matchy, matchy, but I think that might be the way to go. What do you think?
I sure hope you will come back to see the rest of this transformation. To be continued…….
Beyond the Picket Fence:Under $100 Linky Party
Domestically Speaking:Power of Paint Party
Faded Charm:White Wednesday
Handy Man Crafty Woman:Wicked Awesome Wednesday
Primitive and Proper:Piece of Work Wednesday
Primp:Primp Your Stuff Wednesday Link Party
Restore Interiors: Restored It Wednesday
Savvy Southern Style:Wow Us Wednesday
House of Hepworths: Hookin Up with HOH
No Minimalist Here:Open House Party
The Shabby Creek Cottage: Transformation Thursday
Addicted to Decorating: Addicts (not so) Anonymous Party
At the Picket Fence: Inspiration Friday
Chic On A Shoestring: Flaunt It Friday
Common Ground: Vintage Inspiration Friday
Finding Fabulous: Frugalicious Friday
French Country Cottage: Feathered Nest Friday
Miss Mustard Seed:Furniture Feature Friday
My Repurposed Life: Catch as Catch Can Party
My Romantic Home:Show And Tell Friday
Redoux:Friday Feature Party
Simple Home Life:Simply Creations
Tatertots & Jello:Weekend Wrap Up Party
The Charm of Home:Home Sweet Home
The Shabby Nest: Frugal Friday
Funky Junk Interiors: Saturday Night Special
Beneath My Heart: Best DIY Project of the Month


Beautiful transformation. I love the final look.
So creative.
Thanks for sharing.
Hope to see you on my blog:)
that is a great idea! looking forward to seeing it done.
Joselyn, Thank you so much for coming by and checking out my little map covered retro bedside table. What kind words and thoughtful comments.
Your project here sure does look well thought out and yes, like a lot of work. Looks like you are up for the challenge! Such a great idea. I’ll come back and check out your progress. Can you direct me to the page where the two tables similar to mine that you covered with sheet music are? I’d love to see them!
Thank you for joining me at Home Sweet Home!
Sherry